
Some pieces are born to last through time…
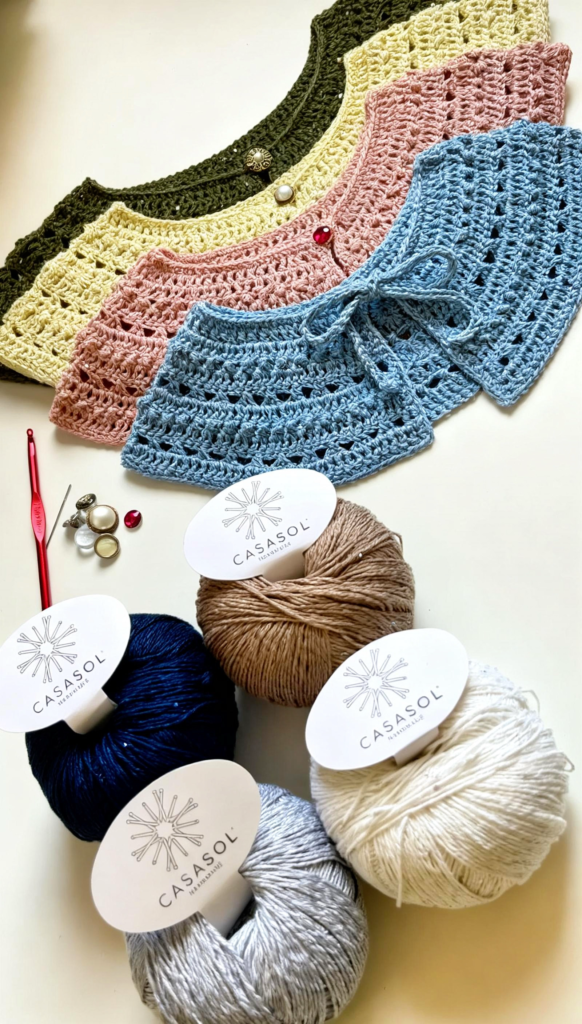
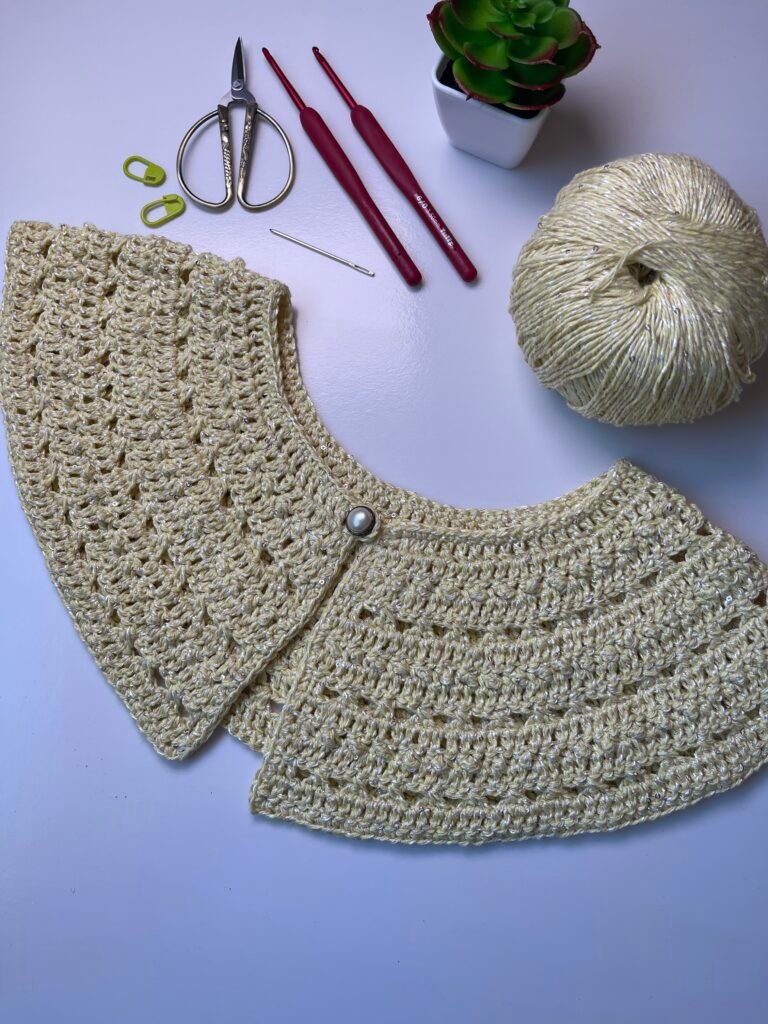
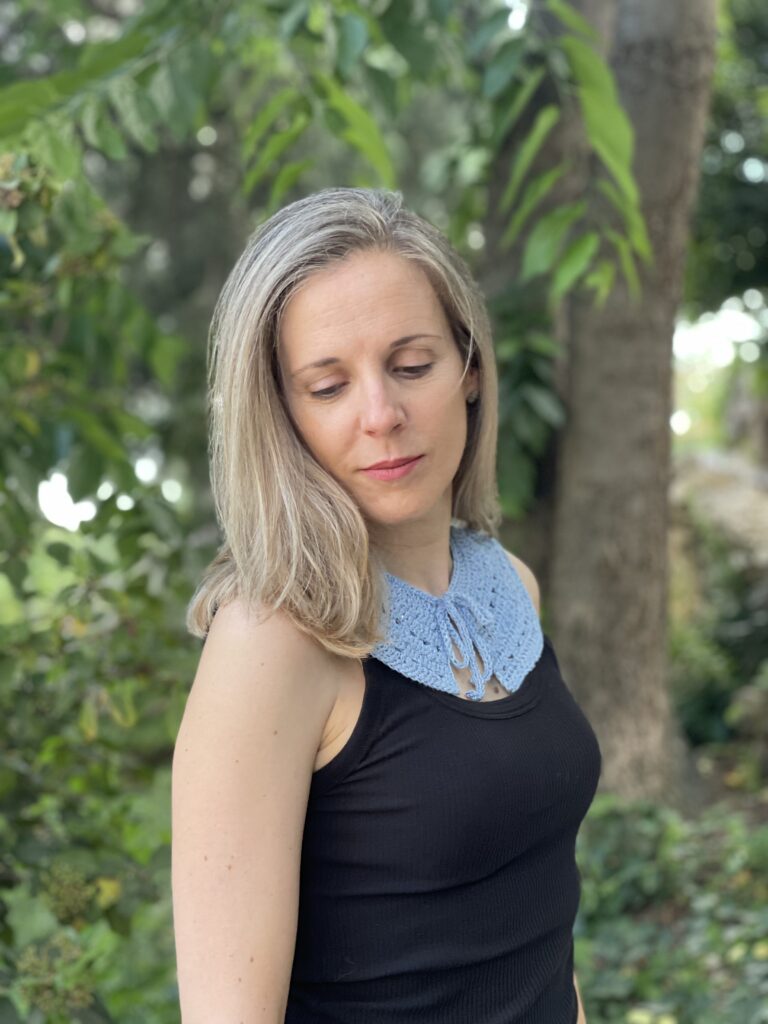
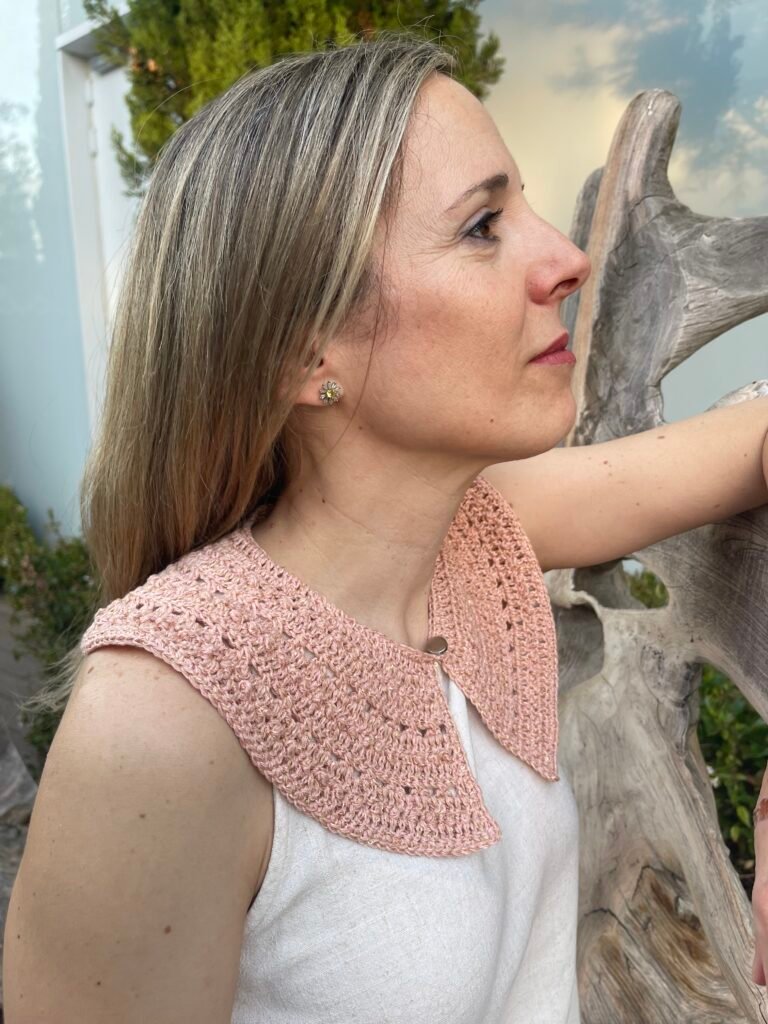
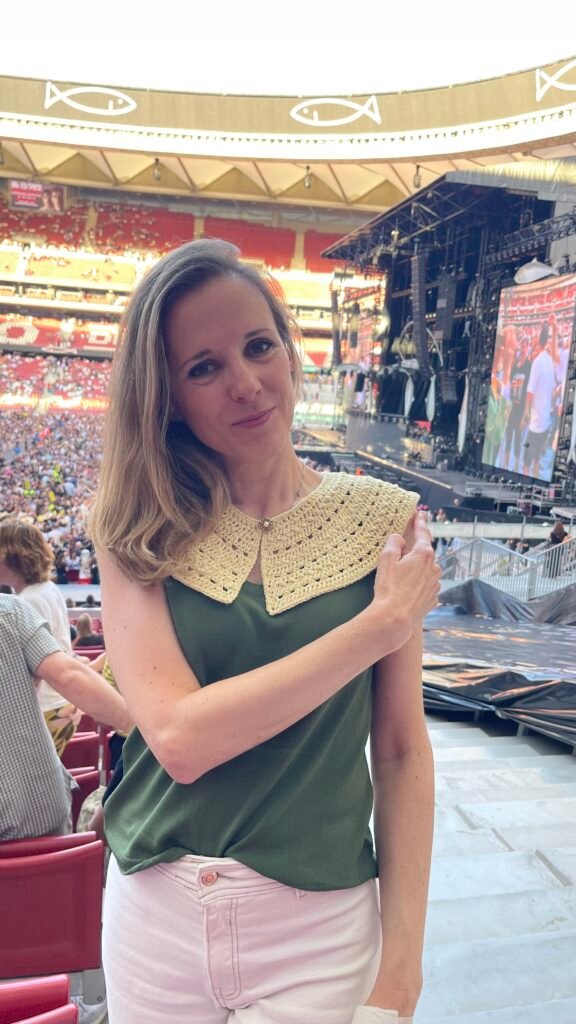
This Peter Pan collar, or baby collar, is one of them.
Inspired by the most romantic vintage aesthetic and crocheted with the Brilla yarn by Casasol and its delicate
sequins, this crochet collar is designed to turn any outfit into something special,
feminine and timeless.
Its texture, the same one that won hearts in the Luz Top, is back now, reimagined in a circular shape, creating an
original, delicate fabric full of movement.
And here’s a little secret: once you learn this technique, you can also adapt it to your
sweaters and cardigans worked top down.
I designed this pattern in four different sizes so you can wear it your way, from a
subtle, elegant detail to a statement piece full of personality.
It’s a project to enjoy slowly, exploring advanced crochet techniques and letting yourself be
wrapped up in the magic of every stitch.
The pattern includes written step-by-step instructions to crochet this collar in four sizes, a chart of the texture and supporting video tutorials to guide you through the whole process.
I’m picturing one in every color… Which one will you start with?
This pattern is for personal use only
Reproduction, distribution or sale of all or part of its content is prohibited
Selling the finished product is allowed, as long as you credit the designer: @lanamalacrochet
All rights reserved.
For questions, contact info@lanamalacrochet.com
1.- Materials
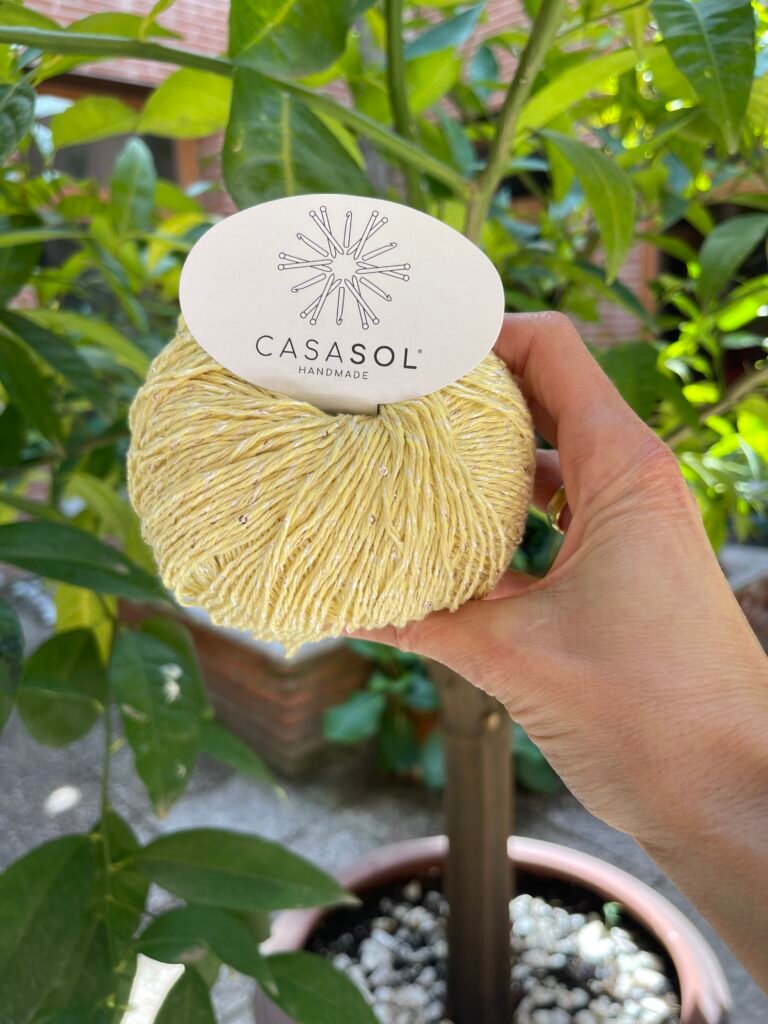
- Yarn: 1 skein of Brilla by Casasol, for any size.
Composition: 75% bamboo, 25% polyamide (sequin-coated).
Weight: DK, 100 g/200 m (3.5 oz/220 yd).
You can use another yarn of similar characteristics.
- 3.5 mm (US E-4) and 3 mm (US D-3) crochet hooks, approximately.
- 2 stitch markers.
- Scissors, yarn needle and measuring tape.
2.- Stitches used and gauge swatch
| ABBREVIATION | DESCRIPTION |
|---|---|
| ch | Chain: Yarn over (yo) and pull it through the loop on your hook. |
| sl st | Slip Stitch: Insert your hook into the stitch, yarn over and pull through the stitch. Pull that same loop (without yarning over again) through the loop already on your hook. |
| sc | Single Crochet: Insert your hook into the stitch, yarn over and pull through the stitch. You will have 2 loops. Yarn over again and pull through both loops at once. |
| dc | Double Crochet: Yarn over and insert your hook into the stitch. Yarn over and pull through the stitch, leaving three loops. Yarn over again and pull through the first two loops. Yarn over once more and pull through the last two loops. |
| tr | Treble Crochet: Yarn over twice and insert your hook into the stitch. Yarn over and pull through the stitch, leaving 4 loops. Yarn over again and pull through the first two loops. 3 loops remain. Repeat. Yarn over once more and pull through the last two loops. |
| Bub | Bubble: Work 1 tr, then work 1 sl st in the next stitch. |
| esc | Extended Single Crochet: Insert your hook into the stitch, yarn over and pull through the stitch, leaving 2 loops. Yarn over again and pull through just one loop; you will have 2 loops on your hook again. Yarn over once more and pull through both loops at once. |
| Cross | Cross: 1 ch, skip 2 stitches, work 1 dc in the third stitch, go back to the previous stitch and work 1 esc, crossing in front of the dc. |
| inc | Double Crochet Increase: Work 2 dc together in the same stitch. |
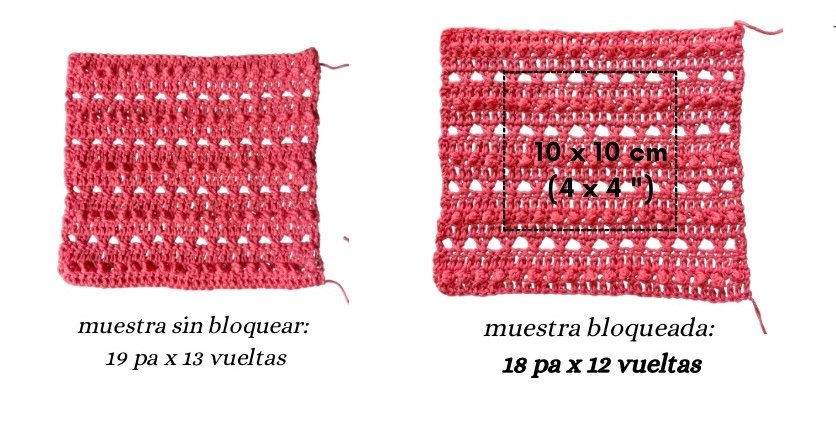
SWATCH worked in the bubble and cross texture:
10 x 10 cm (4 x 4″)
17 double crochets x 12 rows
It is ESSENTIAL to block your swatch before taking measurements.
SWATCH: WRITTEN STEP-BY-STEP INSTRUCTIONS
Practice the texture by crocheting the swatch:
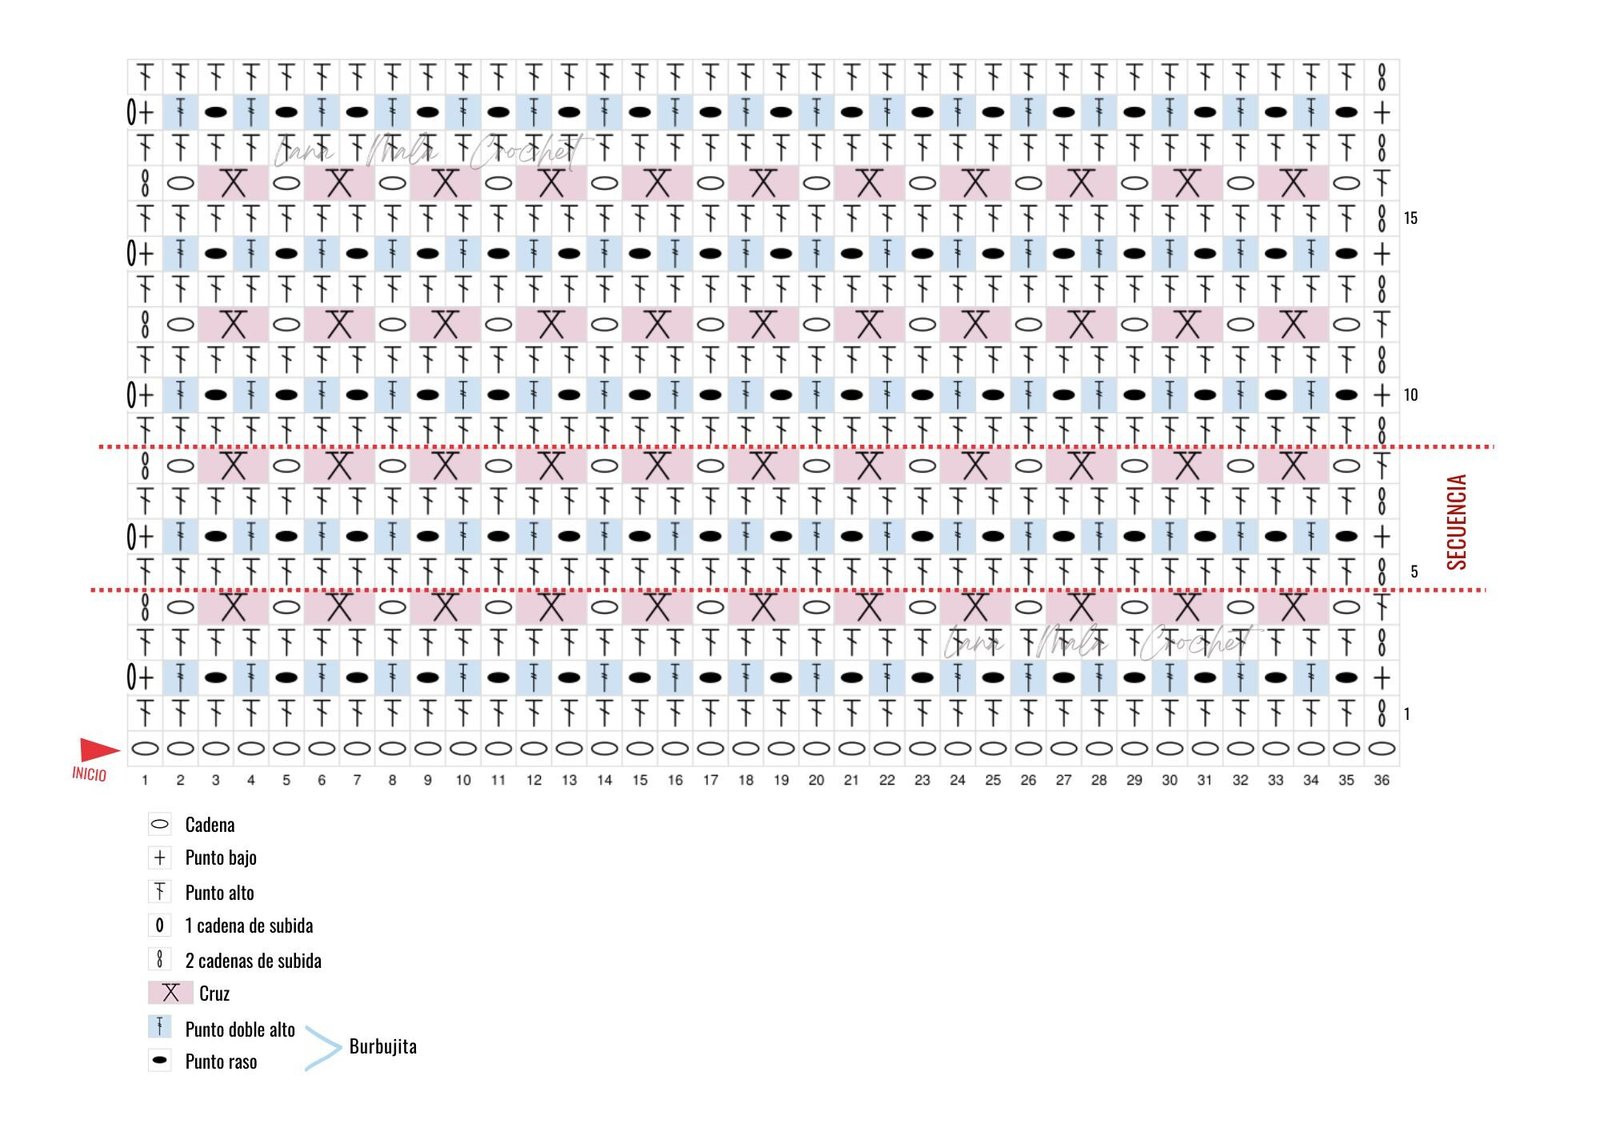
Ch 36
Row 1
(double crochet row / dc): Make 2 turning ch that count as the first stitch, 1 dc in each ch starting from the 4th ch to the end.

- You can replace the 2 turning ch with 2 linked sc.
- You can use a hook half a size smaller for the Bub rows so your bubble stands out well.
Row 2
(bubble row / Bub): Make 1 turning ch that does not count as a stitch, 1 sc, *1 tr, 1 sl st* (the bubble should face you), repeat from * to * until 1 st remains. Finish the row with 1 sc in the last st.
Row 3
(double crochet row / dc after a Bub row): Make 2 turning ch that count as the first stitch, 1 dc in the first sl st, *1 dc in the tr, 1 dc in the sl st*, repeat from * to * until 2 sts remain. Finish the row with 1 dc in the last tr and 1 dc in the sc.
Row 4
(cross row / Cross): Make 2 turning ch that count as the first stitch, *1 ch, skip 2 sts, 1 dc in the third st, go back 1 st and make 1 esc in front of the dc*, repeat from * to * until 2 sts remain. Finish the row with 1 ch, skip the next-to-last st and make 1 dc in the last st.
Row 5
(double crochet row / dc after a Cross row): Make 2 turning ch that count as the first stitch, *1 dc in the ch (not in the space), 1 dc in each of the 2 stitches that make up the Cross*, repeat from * to * until 2 sts remain. Finish the row with 1 dc in the last ch and 1 dc in the last st.
Repeat rows 2, 3, 4 and 5 up to Row 19.
SWATCH: VIDEO TUTORIALS
BUBBLES:
CROSSES:
NOTE: Although the videos explain that the dc
rows and the Cross rows start with 3 ch or 3 linked sc, in this
Luz Collar project we will always start with 2.
SWATCH: CHART
SWATCH: BLOCKING
BLOCK your swatch. This step is ESSENTIAL to take accurate measurements.
To do this, submerge your swatch in a basin of water for a few minutes so that
the fibers soak well.
Take your swatch out of the water and squeeze it with your hands to remove as much water as possible.
Lay it on a padded surface and gently stretch it to open up the lace a little.
Secure it with blocking pins or straight pins all along the edge.
Let it dry completely.
Once dry, measure 10 cm (4″) inside it:
If you get more stitches and rows, switch to a larger hook.
If you get fewer stitches and rows, switch to a smaller hook.
Learn more about gauge swatches here:
3.- Measurements and construction
The Luz Collar is worked top down, that is,
we will crochet it from the top to the bottom.
We will work flat, from side to side, turning the work at the end of each row.
We will make increases where the pattern indicates to give it its rounded shape.
You can crochet 4 sizes: 1 (2) 3 (4)
Size 1: SMALL, for girls and teens.
Size (2): MEDIUM, equivalent to XS-S.
Size 3: LARGE, equivalent to M-L.
Size (4): EXTRA LARGE, equivalent to XL and up.
Measurements:
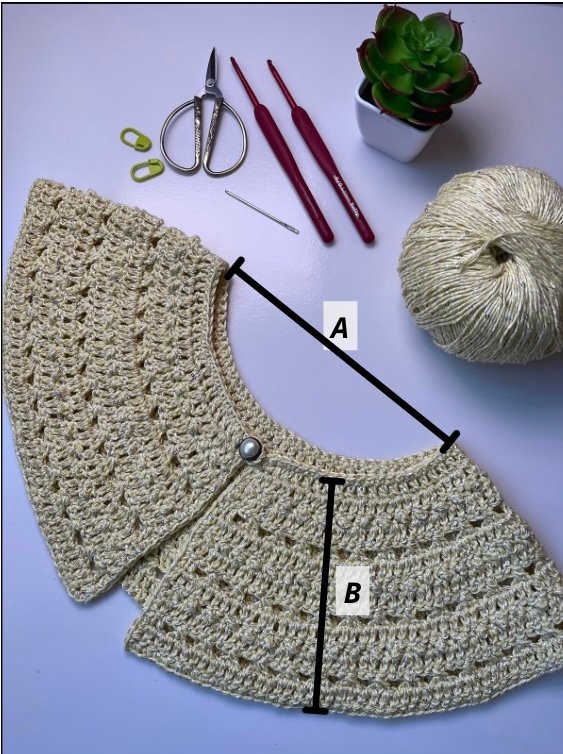
A (neck opening): 13 (15) 17 (19) cm / 5.1 (5.9) 6.7 (7.5) in
B (height): 10 (12) 14 (16) cm / 3.9 (4.7) 5.5 (6.2) in
4.- Step-by-step instructions
BEFORE YOU START
Each row tells you whether to work dc, Bub or Cross:
- The dc rows and Cross rows start with 2 linked sc that count as the first stitch (see video). Always mark it.
- The Bub rows start with 1 turning ch that is used to turn and does not count as a stitch. In these rows you can
use a hook half a size smaller so the Bub stands out well.
Turn your work at the end of each row.
The instructions are separated by size.
LUZ COLLAR – SIZE 1
Row 0 or start:
70 ch. Turn.
Row 1, dc row:
2 linked sc, 1 dc in each ch to the end. 70 sts. Turn.
Row 2, dc row with inc:
1 inc: 2 linked sc + 1 dc in the first st, *2 dc, 1 inc*. Repeat from * to * to the end. 94 sts. 1 ch and turn.
Row 3, Bub row:
1 sc, *Bub: 1 tr, 1 sl st*. Repeat from * to * until 1 st remains. 1 sc in the last st. 94 sts. Turn.
Row 4, dc row with inc:
2 linked sc, *1 inc, 3 dc*. Repeat from * to * until 1 st remains. 1 dc in the last st. 117 sts. Turn.
Row 5, Cross row:
2 linked sc, *1 ch, skip 2 sts, Cross: 1 dc in the next st, 1 esc in the previous st*. Repeat from * to * until 2 sts remain, 1 ch, skip 1 st, 1 dc in the last st. 117 sts. Turn.
Row 6, dc row with inc:
2 linked sc, 4 dc, 1 inc, *4 dc, 1 inc*. Repeat from * to * until 1 st remains. 1 dc in the last st. 140 sts. 1 ch and turn.
Row 7, Bub row:
1 sc, *Bub: 1 tr, 1 sl st*. Repeat from * to * until 1 st remains. 1 sc in the last st. 140 sts. Turn.
Row 8, dc row:
2 linked sc, 1 dc in each st to the end. 140 sts. Turn.
Row 9, Cross row:
2 linked sc, 1 dc, *1 ch, skip 2 sts, Cross: 1 dc in the next st, 1 esc in the previous st*.
Repeat from * to * until 3 sts remain, 1 ch, skip 1 st, 2 dc. 140 sts. Turn.
Row 10, dc row:
2 linked sc, 1 dc in each st to the end. 140 sts. Turn. Continue to the “Finishing” section
LUZ COLLAR – SIZE 2
Row 0 or start:
76 ch. Turn.
Row 1, dc row:
2 linked sc, 1 dc in each ch to the end. 76 sts. Turn.
Row 2, dc row with inc:
1 inc: 2 linked sc + 1 dc in the first st, *2 dc, 1 inc*. Repeat from * to * to the end. 102 sts. 1 ch and turn.
Row 3, Bub row:
1 sc, *Bub: 1 tr, 1 sl st*. Repeat from * to * until 1 st remains. 1 sc in the last st. 102 sts. Turn.
Row 4, dc row with inc:
2 linked sc, * 1 inc, 3 dc*. Repeat from * to * until 1 st remains. 1 dc in the last st. 127 sts. Turn.
Row 5, Cross row:
2 linked sc, 1 dc, *1 ch, skip 2 sts, Cross: 1 dc in the next st, 1 esc in the previous st*.
Repeat from * to * until 2 sts remain, 1 ch, skip 1 st, 1 dc in the last st. 127 sts. Turn.
Row 6, dc row with inc:
2 linked sc, 4 dc, 1 inc, *4 dc, 1 inc*. Repeat from * to * until 1 st remains. 1 dc in the last st. 152 sts. 1 ch and turn.
Row 7, Bub row:
1 sc, *Bub: 1 tr, 1 sl st*. Repeat from * to * until 1 st remains. 1 sc in the last st. 152 sts. Turn.
Row 8, dc row:
2 linked sc, 1 dc in each st to the end. 152 sts. Turn.
Row 9, Cross row:
2 linked sc, 1 dc, *1 ch, skip 2 sts, Cross: 1 dc in the next st, 1 esc in the previous st*. Repeat from * to * until 3 sts remain, 1 ch, skip 1 st, 2 dc. 152 sts. Turn.
Row 10, dc row:
2 linked sc, 1 dc in each st to the end. 152 sts. 1 ch and turn.
Row 11, Bub row:
1 sc, *Bub: 1 tr, 1 sl st*. Repeat from * to * until 1 st remains. 1 sc in the last st. 152 sts. Turn.
Row 12, dc row with inc:
2 linked sc, *1 inc, 5 dc*. Repeat from * to * until 1 st remains. 1 dc in the last st. 177 sts. Turn. Continue to the “Finishing” section
LUZ COLLAR – SIZE 3
Row 0 or start:
82 ch. Turn.
Row 1, dc row:
2 linked sc, 1 dc in each ch to the end. 82 sts. Turn.
Row 2, dc row with inc:
1 inc: 2 linked sc + 1 dc in the first st, *2 dc, 1 inc*. Repeat from * to * to the end. 110 sts. 1 ch and turn.
Row 3, Bub row:
1 sc, *Bub: 1 tr, 1 sl st*. Repeat from * to * until 1 st remains. 1 sc in the last st. 110 sts. Turn.
Row 4, dc row with inc:
2 linked sc, *1 inc, 3 dc*. Repeat from * to * until 1 st remains. 1 dc in the last st. 137 sts. Turn.
Row 5, Cross row:
2 linked sc, 1 dc, *1 ch, skip 2 sts, Cross: 1 dc in the next st, 1 esc in the previous st*. Repeat from * to * until 3 sts remain, 1 ch, skip 1 st, 2 dc. 137 sts. Turn.
Row 6, dc row with inc:
2 linked sc, 4 dc, 1 inc, *4 dc, 1 inc*. Repeat from * to * until 1 st remains. 1 dc in the last st. 164 sts. 1 ch and turn.
Row 7, Bub row:
1 sc, *Bub: 1 tr, 1 sl st*. Repeat from * to * until 1 st remains. 1 sc in the last st. 164 sts. Turn.
Row 8, dc row:
2 linked sc, 1 dc in each st to the end. 164 sts. Turn.
Row 9, Cross row:
2 linked sc, 1 dc, *1 ch, skip 2 sts, Cross: 1 dc in the next st, 1 esc in the previous st*. Repeat from * to * until 3 sts remain, 1 ch, skip 1 st, 2 dc. 164 sts. Turn.
Row 10, dc row:
2 linked sc, 1 dc in each st to the end. 164 sts. 1 ch and turn.
Row 11, Bub row:
1 sc, *Bub: 1 tr, 1 sl st*. Repeat from * to * until 1 st remains. 1 sc in the last st. 164 sts. Turn.
Row 12, dc row with inc:
2 linked sc, *1 inc, 5 dc*. Repeat from * to * until 1 st remains. 1 dc in the last st. 191 sts. Turn.
Row 13, Cross row:
2 linked sc, 1 dc, *1 ch, skip 2 sts, Cross: 1 dc in the next st, 1 esc in the previous st*. Repeat from * to * until 3 sts remain, 1 ch, skip 1 st, 2 dc. 191 sts. Turn.
Row 14, dc row:
2 linked sc, 1 dc in each st to the end. 191 sts. Turn. Continue to the “Finishing” section
LUZ COLLAR – SIZE 4
Row 0 or start:
88 ch. Turn.
Row 1, dc row:
2 linked sc, 1 dc in each ch to the end. 88 sts. Turn.
Row 2, dc row with inc:
1 inc: 2 linked sc + 1 dc in the first st, *2 dc, 1 inc*. Repeat from * to * to the end. 118 sts. 1 ch and turn.
Row 3, Bub row:
1 sc, *Bub: 1 tr, 1 sl st*. Repeat from * to * until 1 st remains. 1 sc in the last st. 118 sts. Turn.
Row 4, dc row with inc:
2 linked sc, *1 inc, 3 dc*. Repeat from * to * until 1 st remains. 1 dc in the last st. 147 sts. Turn.
Row 5, Cross row:
2 linked sc, *1 ch, skip 2 sts, Cross: 1 dc in the next st, 1 esc in the previous st*. Repeat
from * to * until 2 sts remain, 1 ch, skip 1 st, 1 dc in the last st. 147 sts. Turn.
Row 6, dc row with inc:
1 inc: 2 linked sc + 1 dc in the first st, *4 dc, 1 inc*. Repeat from * to * to the end. 176 sts. 1 ch and turn.
Row 7, Bub row:
1 sc, *Bub: 1 tr, 1 sl st*. Repeat from * to * until 1 st remains. 1 sc in the last st. 176 sts. Turn.
Row 8, dc row:
2 linked sc, 1 dc in each st to the end. 176 sts. Turn.
Row 9, Cross row:
2 linked sc, 1 dc, *1 ch, skip 2 sts, Cross: 1 dc in the next st, 1 esc in the previous st*. Repeat from * to * until 3 sts remain, 1 ch, skip 1 st, 2 dc. 176 sts. Turn.
Row 10, dc row:
2 linked sc, 1 dc in each st to the end. 176 sts. 1 ch and turn.
Row 11, Bub row:
1 sc, *Bub: 1 tr, 1 sl st*. Repeat from * to * until 1 st remains. 1 sc in the last st. 176 sts. Turn.
Row 12, dc row with inc:
2 linked sc, *1 inc, 5 dc*. Repeat from * to * until 1 st remains. 1 inc in the last st. 206 sts. Turn.
Row 13, Cross row:
2 linked sc, 1 dc, *1 ch, skip 2 sts, Cross: 1 dc in the next st, 1 esc in the previous st*. Repeat from * to * until 3 sts remain, 1 ch, skip 1 st, 2 dc. 206 sts. Turn.
Row 14, dc row:
2 linked sc, 1 dc in each st to the end. 206 sts. Turn.
Row 15, Bub row:
1 sc, *Bub: 1 tr, 1 sl st*. Repeat from * to * until 1 st remains. 1 sc in the last st. 206 sts. Turn.
Row 16, dc row:
2 linked sc, 1 dc in each st to the end. 206 sts. Turn. Continue to the “Finishing” section
5.- Finishing (all sizes)
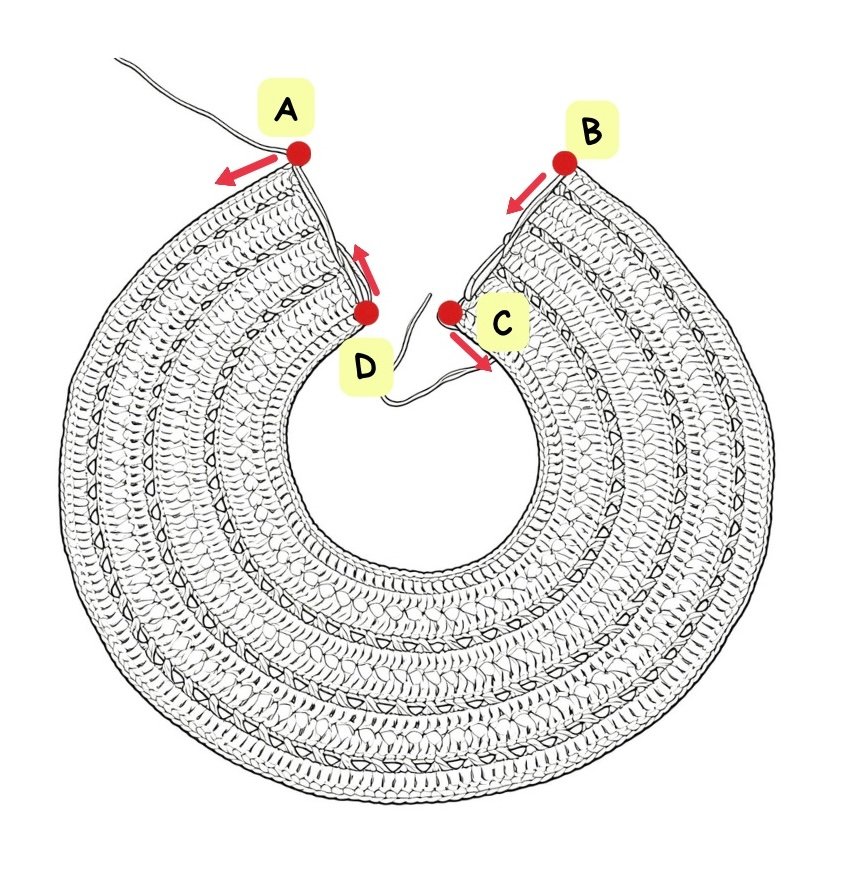
1st/ From point A to point B:
1 turning ch (does not count as a stitch). 1 sc in each st. 140 (177) 191 (206) sts.
2nd/ From B to C:
Continue along the side, working 1 more sc in the corner and 15 (18) 21 (24) sc (approximately)
evenly spaced along the whole side until you reach the slip knot at the start. It doesn’t matter if you work
a few more or a few fewer; what matters is that it lies flat: neither tight nor flared.
Ch 6, which will be the button loop.
If you prefer to crochet a tie cord instead of a button, this is the moment: * make approximately
50 ch, turn and work back, making 1 sl st in each ch through the back (see video).
3rd/ From C to D:
Join with a sc in the first ch of the start and continue working 1 sc in each stitch of the foundation chain.
70 (76) 82 (88) sts.
If you chose to make a tie cord, repeat the procedure described in * and join with a sc in the same stitch.
4th/ From D to A:
Continue along the other side, working 1 more sc in the corner and 15 (18) 21 (24) sc, or the same number of
stitches you made on the first side.
Join with a sl st in the first sc. Cut the yarn and weave in the end.
6.- Blocking and Button
Fully submerge your Luz Collar in a basin of water. Let it
soak for about 20 minutes so the fibers get thoroughly wet.
Take it out and squeeze out the excess water well. You can roll it up in a
towel and press with your hands to remove as much moisture as possible.
Place your collar on a padded surface.
Gently stretch it, opening up the crosses and trying to get the bubbles
all facing outward.
Pin it with straight pins or blocking pins.
Let it dry completely.
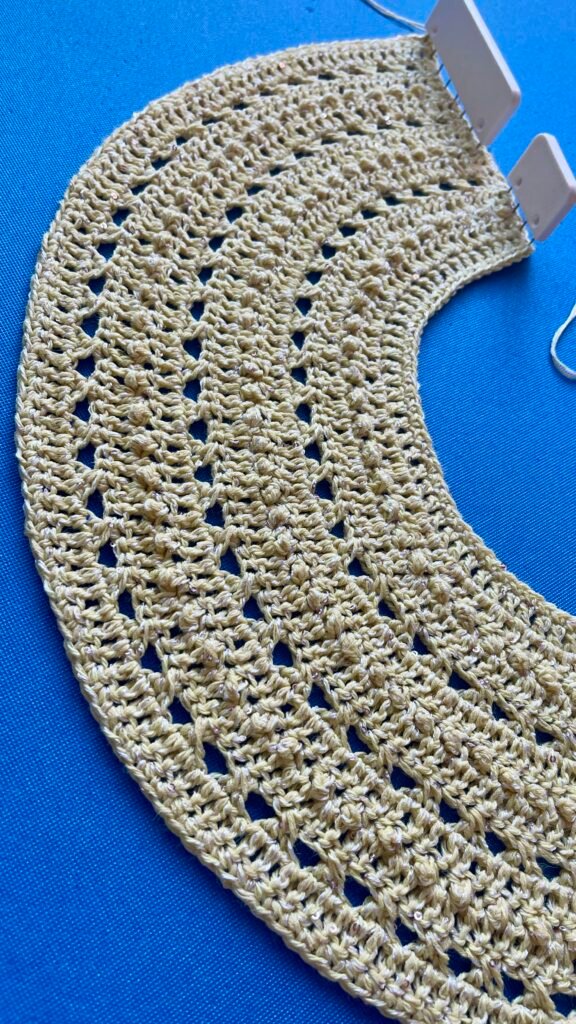
Follow this video tutorial, where I show you step by step how to block garments like this:
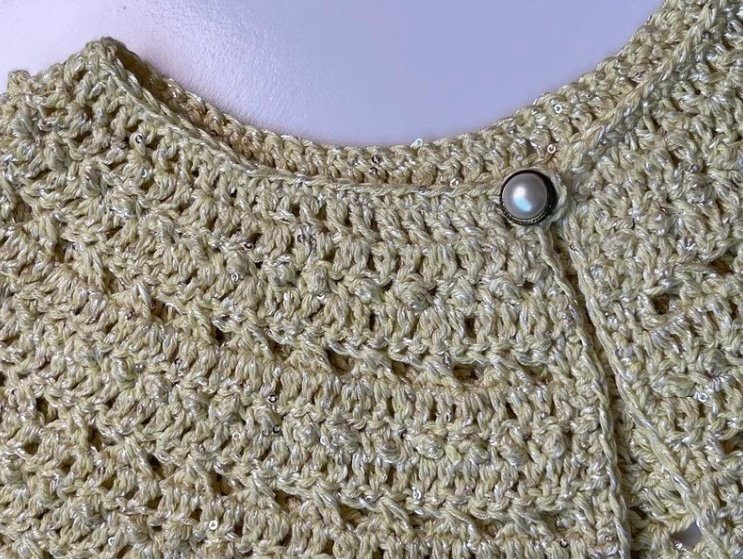
All that’s left is the final detail: choose a button you like and sew it on the end opposite the button loop.
Coming soon: the video tutorial of the complete Luz Collar will be available on my YouTube channel.
Subscribe and turn on the bell so you get notified when it’s published:
Go to the Lana Mala Crochet YouTube Channel
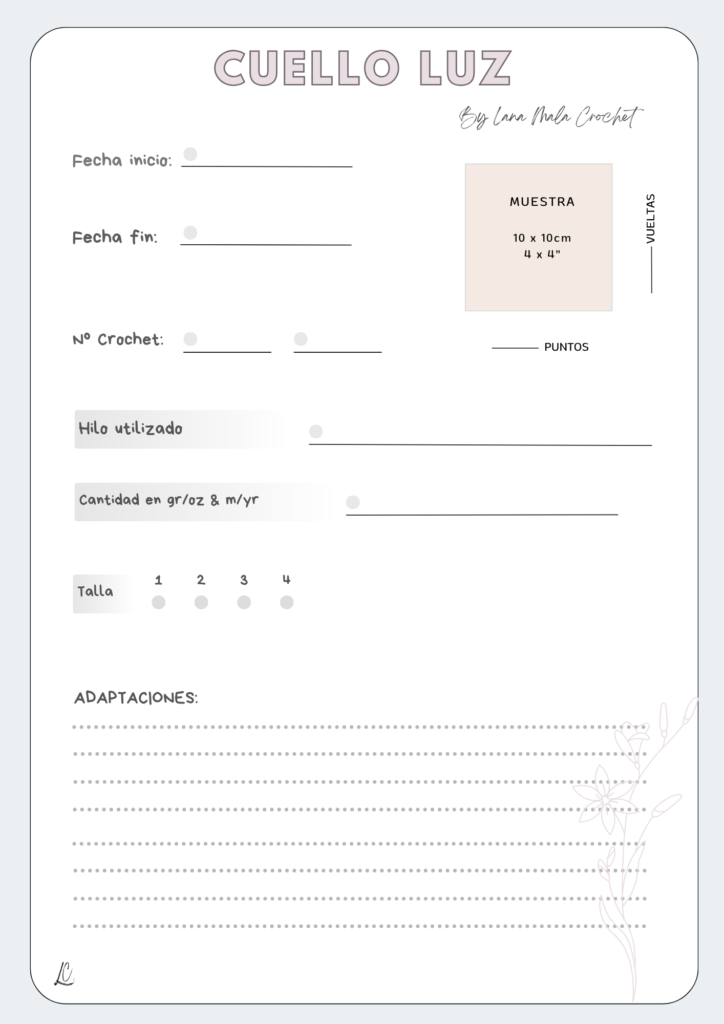
As a gift, I’m leaving you this notes sheet you can print. It’s very useful for jotting down all the important details.
Tell me in the COMMENTS what you thought of this pattern and how you’re going to style it.
Never underestimate the power of a handmade detail.
They always elevate your style and authenticity.
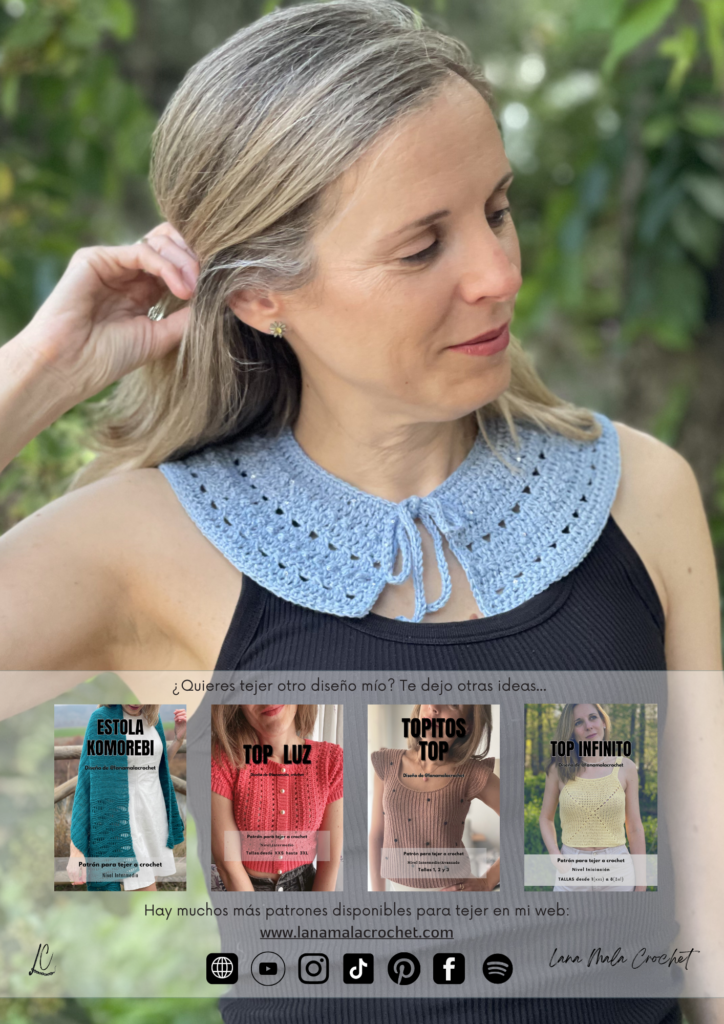
And now I want to tell you that, if after practicing this Bubble and Cross texture you feel ready to take one more step and grow as a crocheter and LEVEL UP… I suggest you venture into crocheting the wonderful LUZ TOP, which has this same texture, but worked vertically. A modern, exquisite, delicate garment… You’re ready, don’t think twice. In the pattern you’ll find everything you need to crochet it in 8 sizes, adjust the length to your liking, the neckline… A true luxury of design and pattern within your reach.
Click the link below: LUZ TOP PATTERN and keep enjoying this art. And I’ll be with you, by your side.
A huge hug and happy crochet, Ana.
Lana Mala Crochet
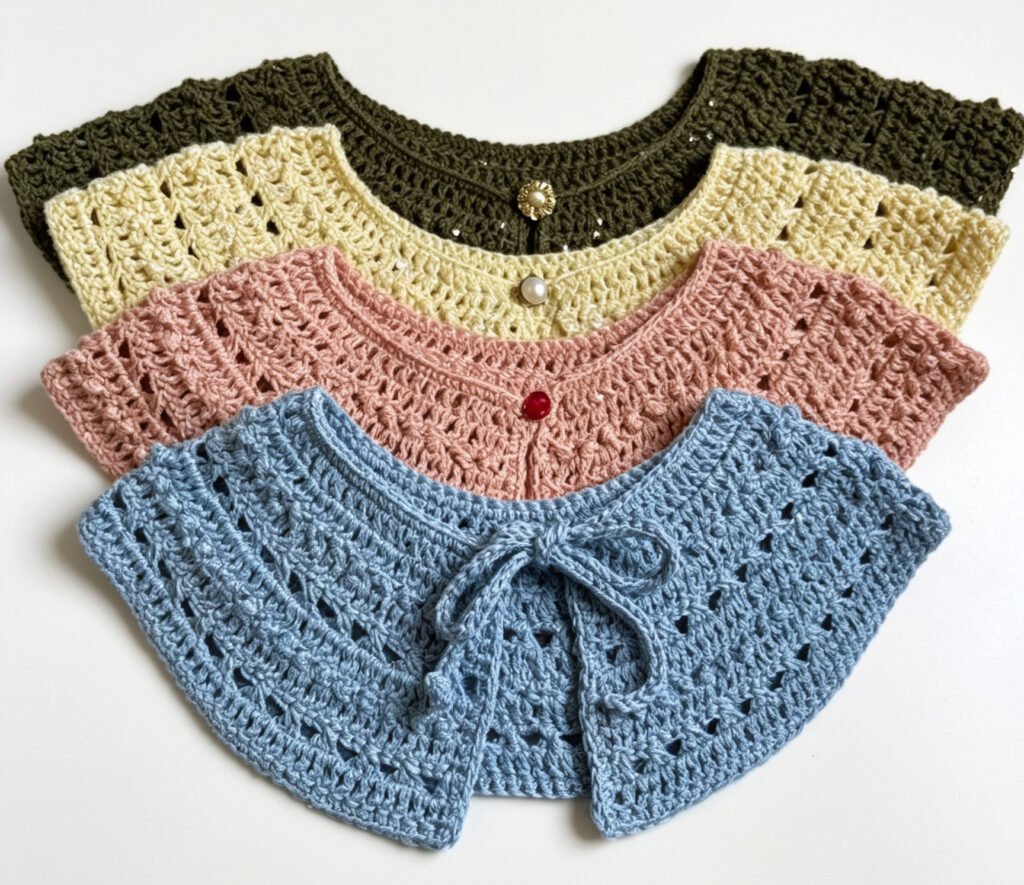
Luz Peter Pan Collar – Free Crochet Pattern
Some pieces are born to last through time… This Peter Pan collar, or baby collar,…
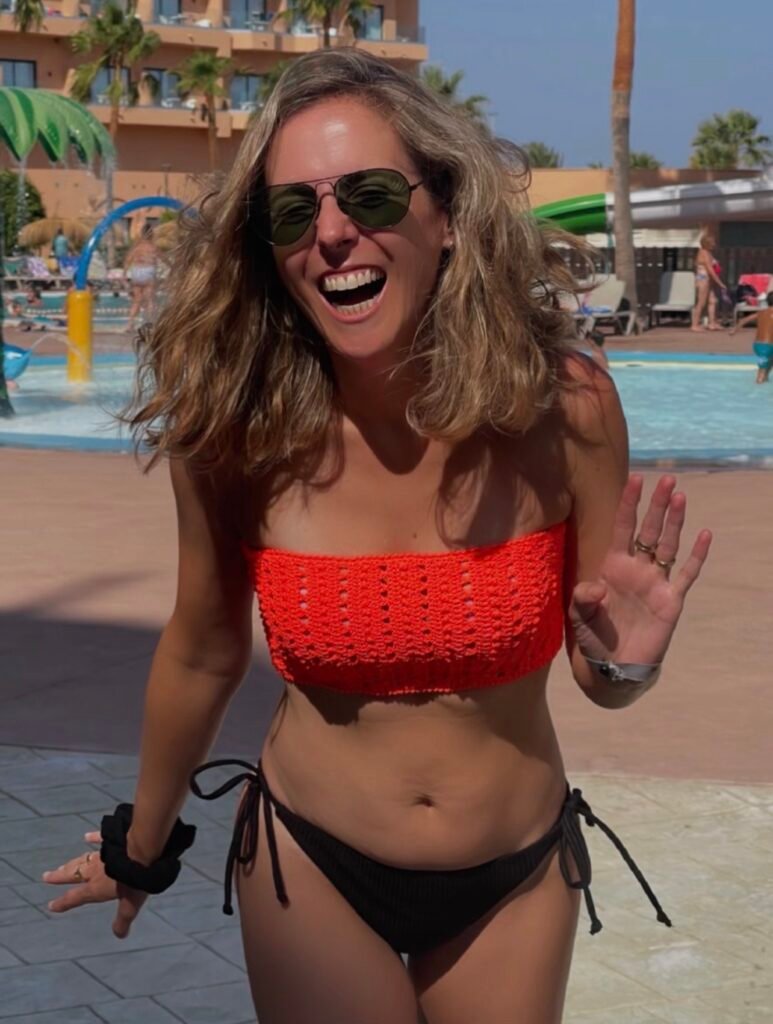
Luz Bandeau Bikini Top – Free Crochet Pattern
Some pieces are born to make you feel beautiful… And this is one of them….
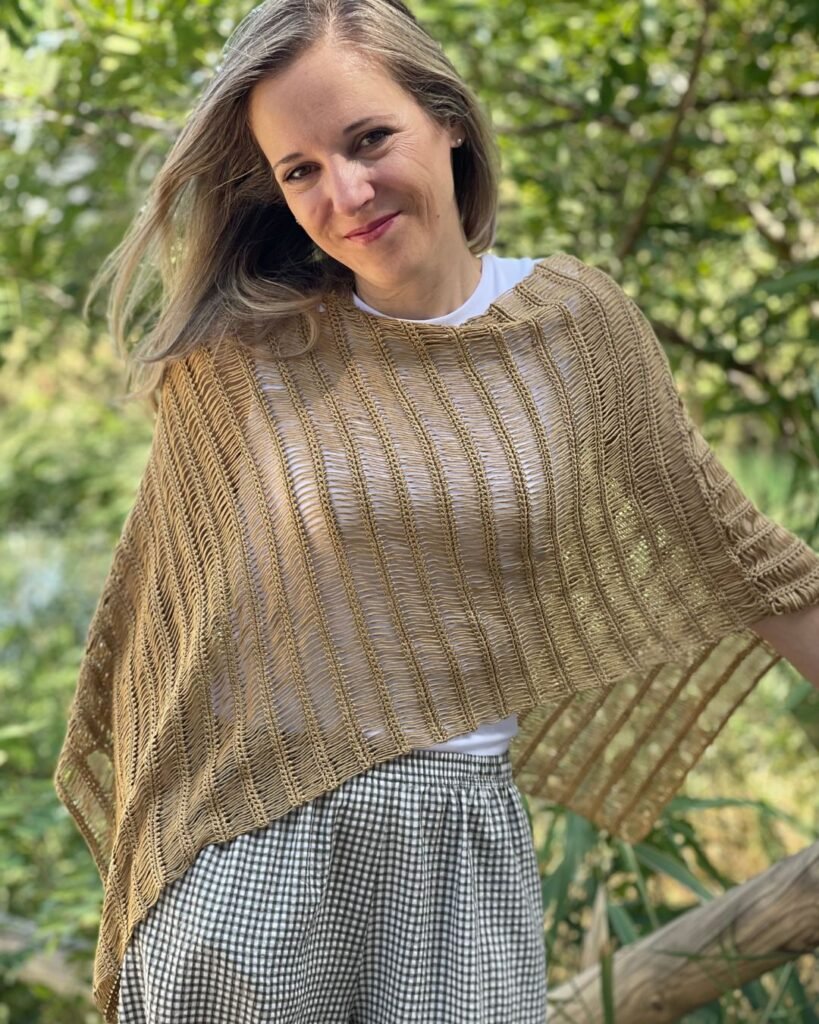
XANATH PONCHO – Free Crochet Pattern
Why Xanath? Sometimes a design finds its name almost the moment it is born. Other…